Low Cloud: The Video

Hey Guys,

If you follow me on instagram you’re probably quite aware of my love affair with fog - and in particular, fog in the Black Spur. So when it came time to take the jump into making my fist video, what better place and conditions than a cold winters morning in the Spur.

The series of clips in this short video were all shot on the DJI Mavic Pro in 4k at 60fps.

Feel free to leave me any feedback in the YouTube comments…

Enjoy!

Campaign: Sebastian Blake


RARE AND RE-DISCOVERED

“Deep beneath Lake Pieman lays some of Australia’s rarest timber species.

Each piece we hand select is unique; and has its own story to tell.

Seamlessly fusing materials, creating a product where architecture meets eyewear.”

SEBASTIAN BLAKE

Sebastian Blake-13.jpg

That is (in brief) the brand story behind the soon to be released eyewear label - Sebastian Blake

I was recently approached by Melbourne stylist Kirby Hughes to shoot the second component of the Sebastian Blake launch campaign.

After having one half of the campaign shot in Tasmania; the home of Lake Pieman and their unique timber element. The guys from Sebastian Blake wanted to shoot the remainder of the campaign in a way that complemented the more architectural / urban side to their frames.

Working with Kirby, we decided on four locations to shoot the eight  different frames. With the locations covering a range backdrops, from clean lines and natural tones to pastels and urban grit. 

From a photography standpoint it was important to capture not only full and half body campaign images, but also the finer details of the frames - in particular the uniqueness of the timber used in each.

Here’s a small selection of what we came up with…

Kit:

Canon 5dIV + 24-70 2.8

Canon EOS R + 70-100 2.8

Models:

Harry Barnett

Ben Mayers

Kirby Hughes

Julian Lallo
Julian Lallo Photographer
Harry Barnett
Melbourne Model

Edit Tutorial: Sunrise Glow

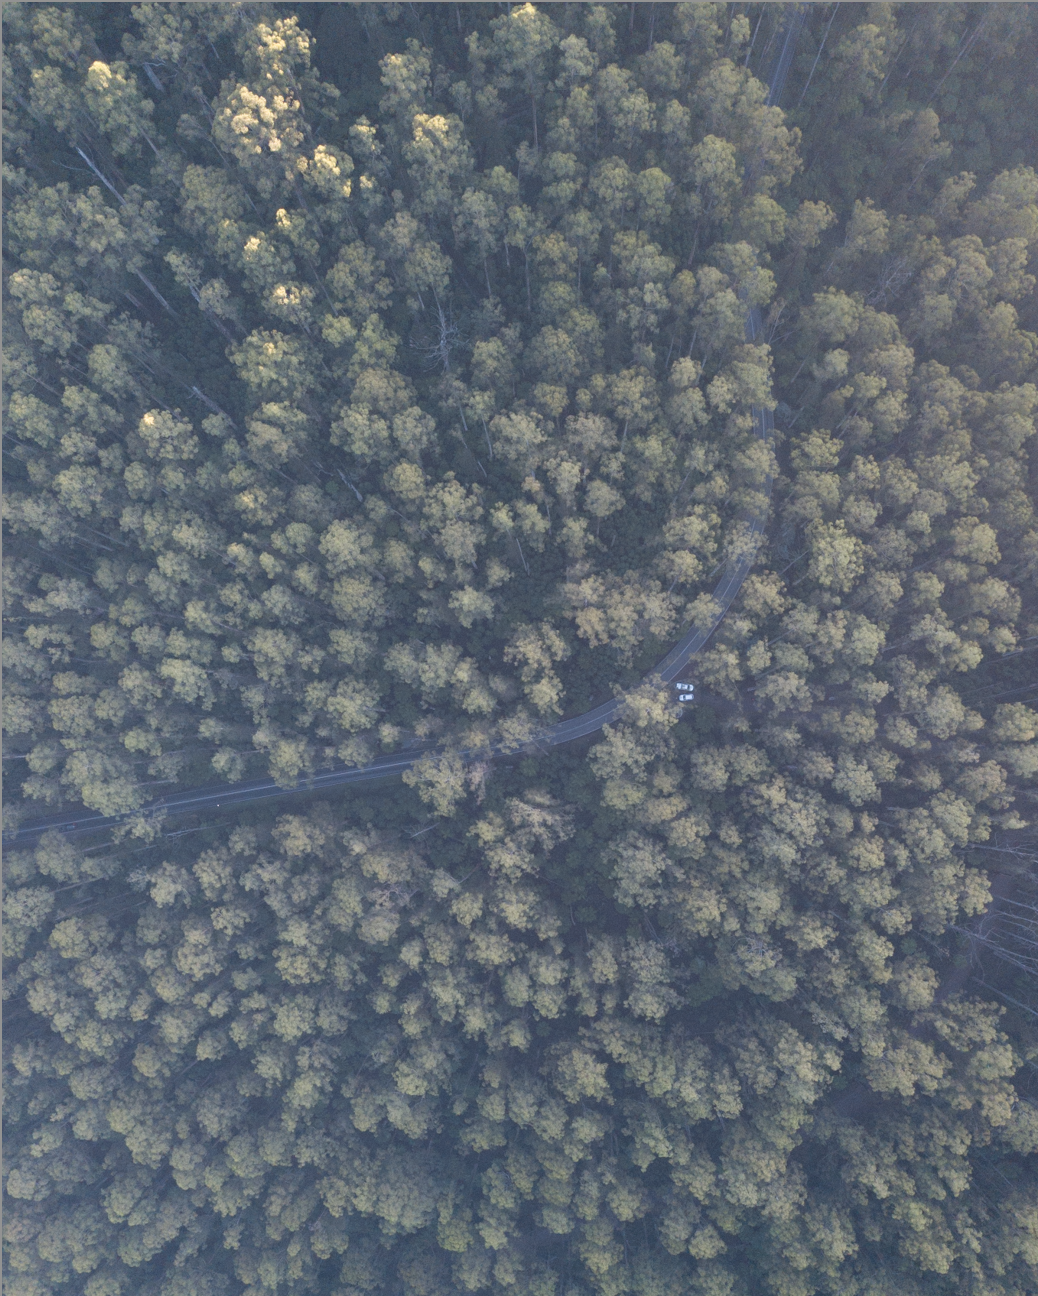
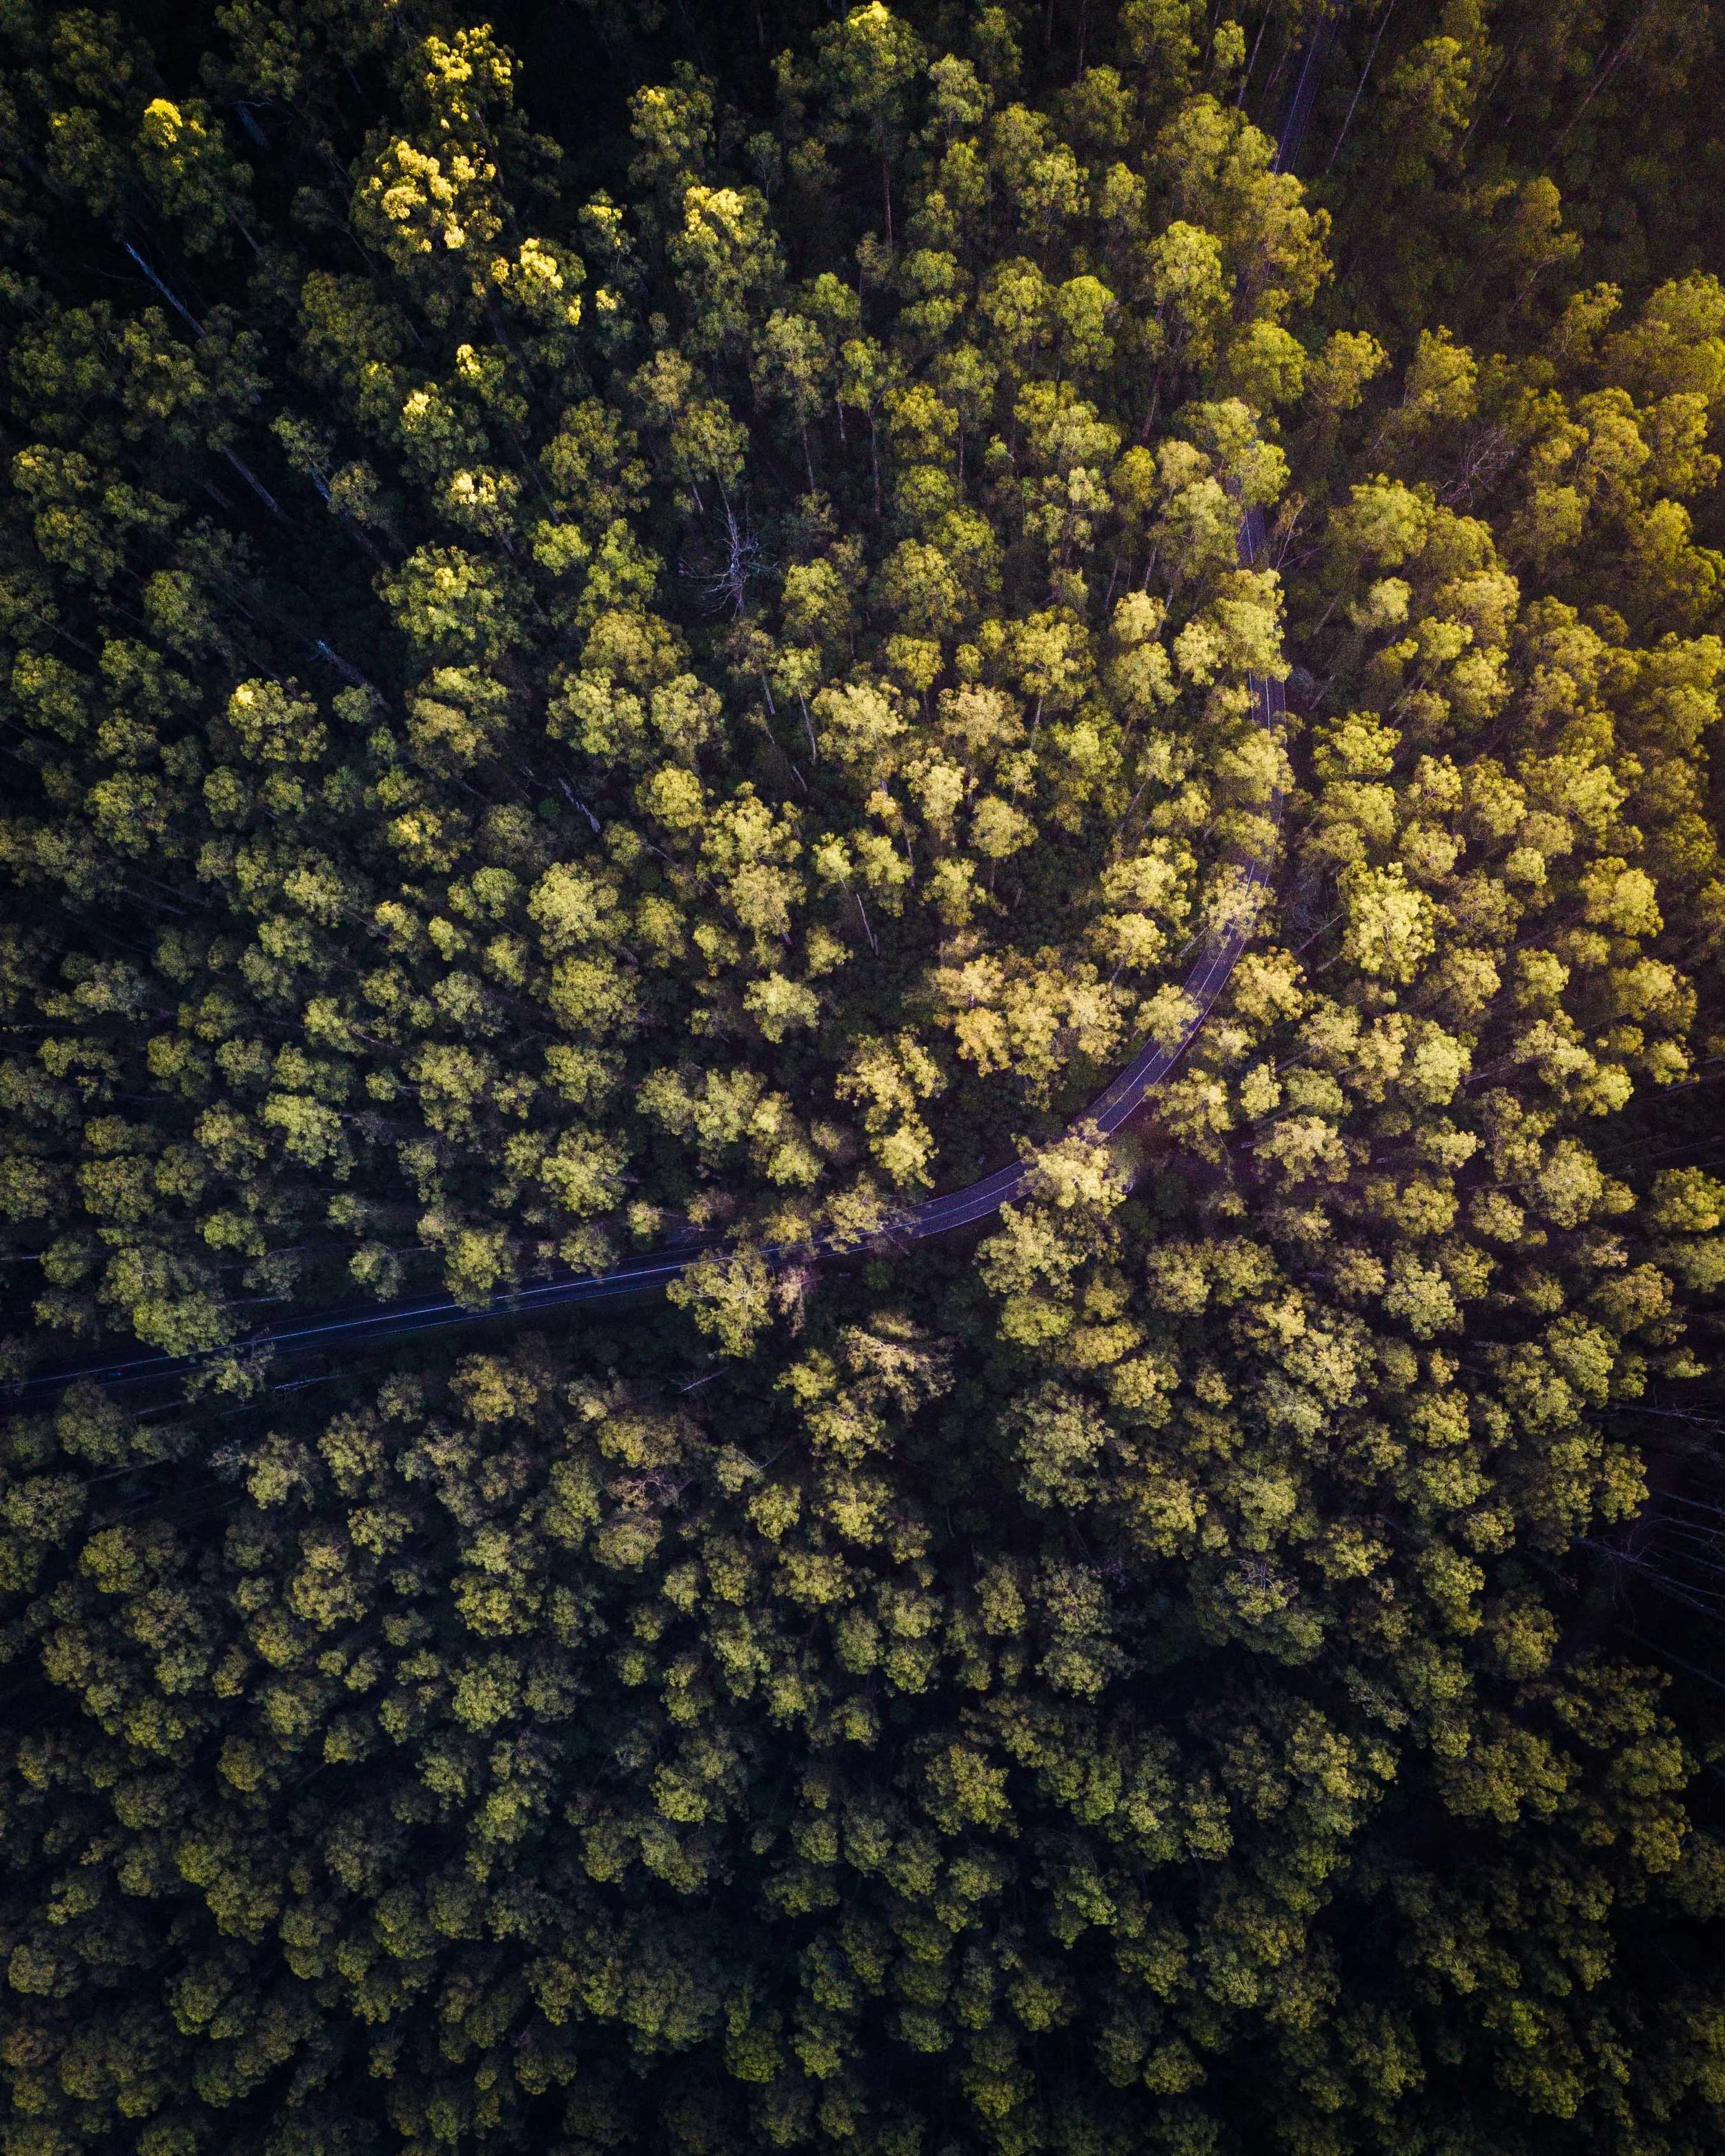
Whether you’re a professional photographer or weekend hobbyist you’ll know the importance of a good edit - and if you take a look at the before and after images below you can see just how powerful good editing software can be!

I recently partnered with Adobe Creative Cloud to cover one of my favourite Lightroom Classic CC tools - the Radial Filter. The Radial Filter essentially allows you to draw a circular shape of any size over your image and make corrections to either everything inside, or outside the selected area.

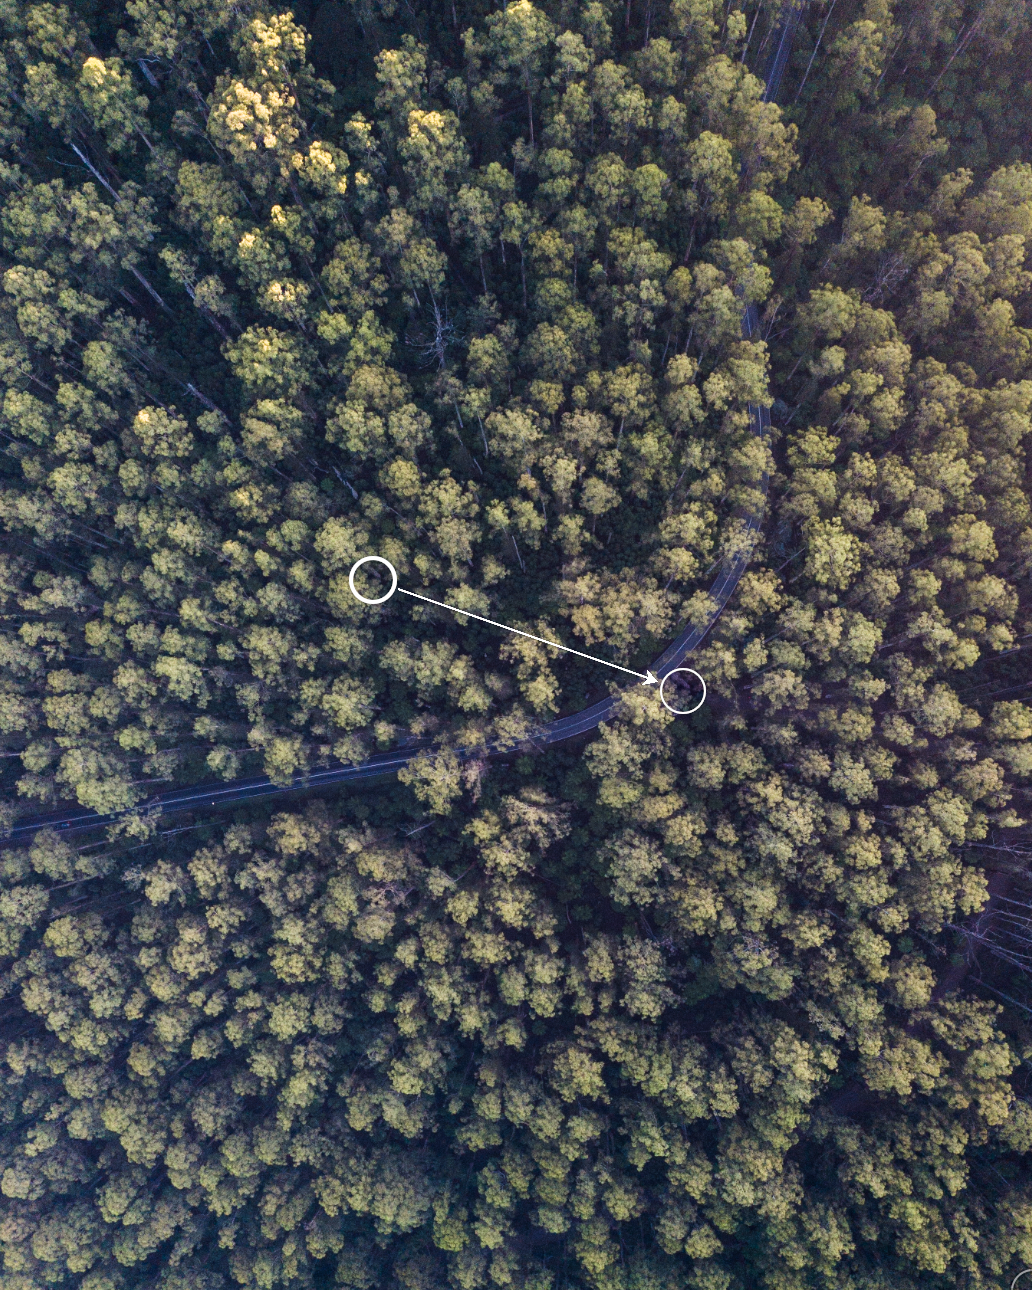
In this tutorial I give a step by step guide to how I gave a lifeless aerial image a beautiful sunrise glow - and how I used the Radial Filter to do so.

BEFORE

BEFORE

AFTER

AFTER

Step One: Basic Adjustments & Spot Removal

  • Increase Warmth, Contrast, Clarity & Vibrance 

  • Decrease Exposure, Shadows, Whites & Blacks

  • Use ‘Spot Removal’ tool to remove cars

Lightroom Spot Removal
Lightroom Basic Adjustments

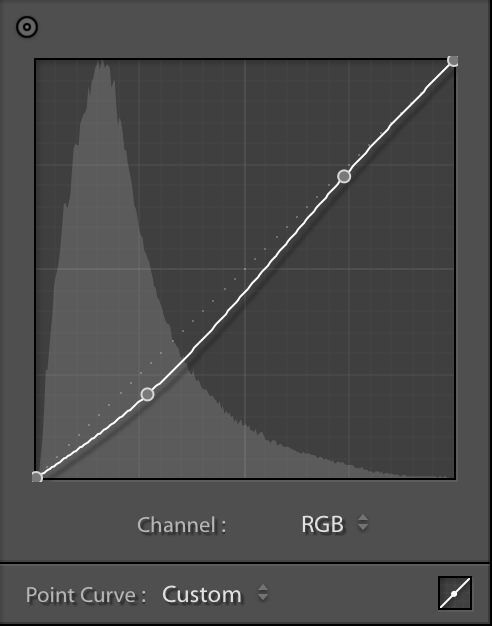
Step Two: Tone Curve Adjustments 

  • Slightly decrease darks & lights

DJI Mavic Pro
Lightroom Tone Curve

Step Three: Colour Adjustments

  • Increase Saturation of Orange & Yellow

  • Increase Luminance of Orange & Yellow

Mavic Pro
Lightroom CC

Step Four: Radial Filter (1)

  • Using Radial Filter select desired area

  • Invert mask to act on everything inside selection

  • Increase Warmth, Exposure, Highlights & Saturation to create warm orange glow

Lightroom Radial Filter
how to use radial filter in Lightroom

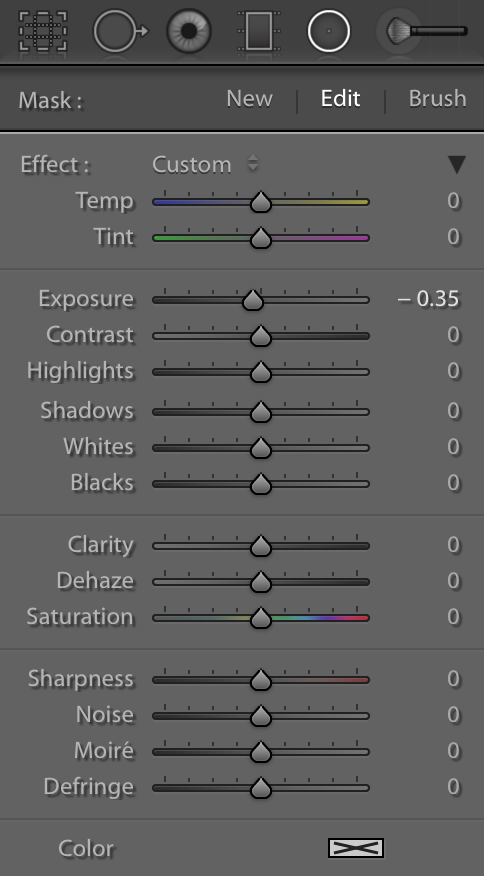
Step Five: Radial Filter (2)

  • Using another Radial Filter select same area as Radial Filter (1)

  • This will act on everything outside selected area

  • Decrease Exposure to excentuate sunrise glow 

Create sunrise effect in lightroom
How to select inside radial filter


So that’s it! In five basic steps I’ve been able to completely transform my image using Lightroom Classic CC and the Radial Filter. If you aren’t already using Adobe Creative Cloud and would like a free trial click here - or if you have any questions on this tutorial feel free me to drop a note in the comments section below.

Bonus Tip: It’s important to shoot in RAW to be able to pull the most information out of the image when editing. This particular image was shot on the DJI Mavic Pro with uses the .dng RAW file format.


Adobe Lightroom cc